Last updated on April 24th, 2024 at 09:32 am
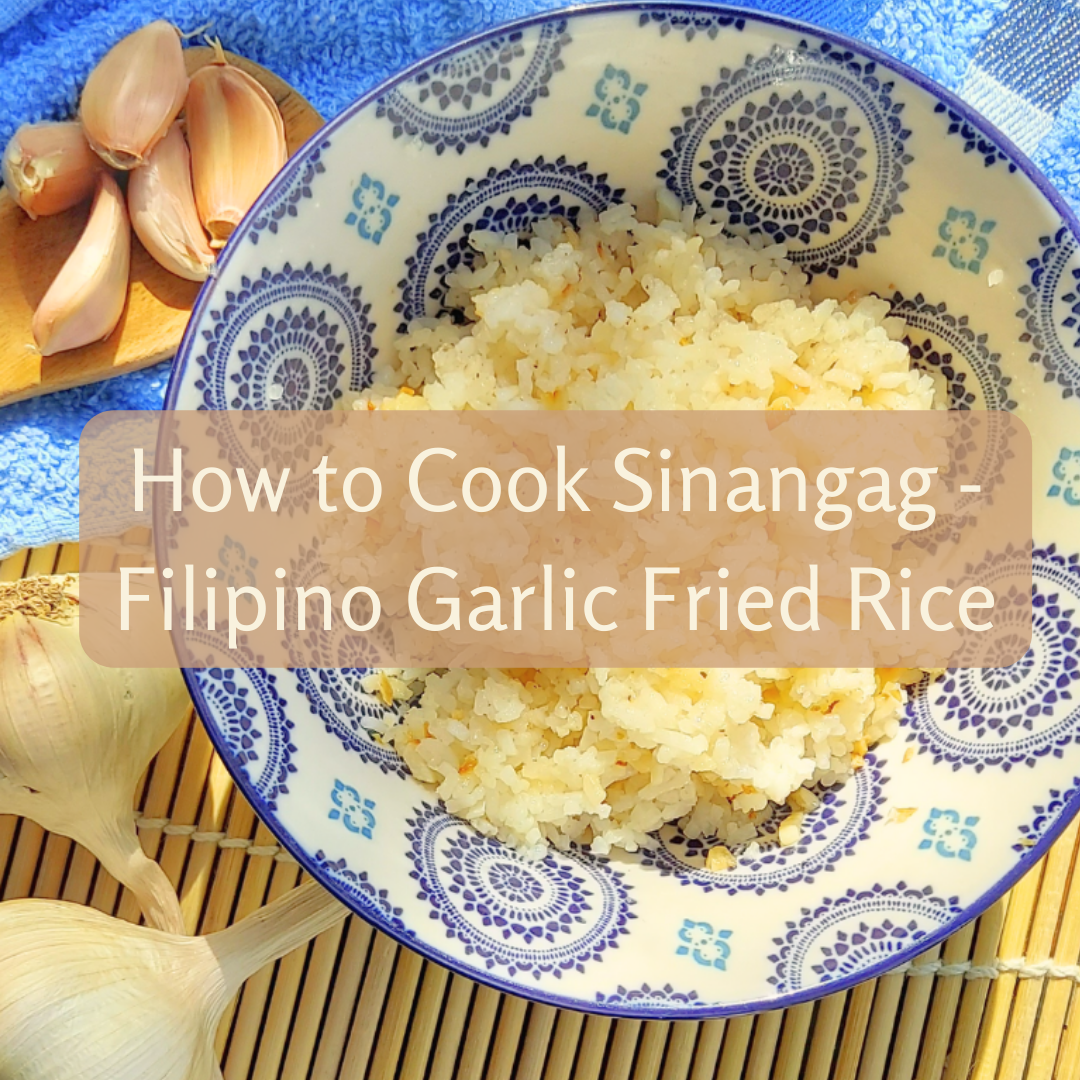
Today I’ll be sharing with you how to cook Sinangag, also known as garlic fried rice with ease.
Sinangag means “toasted” or “lightly fried”. We lightly fry the rice to give it texture and some smoky flavor, with the help of toasted garlic.
Some people may be daunted by this task but like any other thing in this world, all you need is a little practice, patience, and a tiny bit of workout.
With basic ingredients and some creativity, you will be in for a treat! Plus points too because you will be able to come full circle by preparing some of the best Filipino breakfasts there are.
Let’s start!
*note: This post may contain affiliate links for your convenience. Qualifying purchases may earn me a small commission at no extra cost to you.
Ingredients:
Day-old rice – yes, the one you cooked the day prior, preferably cold from the fridge. Long-grain rice is a staple in any Filipino household. I have mine sit on the counter until the next day. At least where I’m at in the winter months, it doesn’t go bad.
Water – set aside about a cup of water. Depending on the amount of rice, you may not need all of it.
Garlic cloves – I will let you decide on the amount here. Filipinos are notorious for easily putting in a ridiculous amount of garlic. So yes, we are not friends with vampires. Finely chop your garlic, but don’t mince. I’ll explain this later.
Oil – We need an oil that can tolerate high heat. I just use canola or vegetable oil. Better if you have chicken or bacon grease. 🙂
Salt and Pepper – for seasoning
Soy Sauce (optional) – for a bit of color
Instructions:
- Heat up your wok or pan on high; add your oil and wait until it’s smoking. (I’m not kidding).
- While that’s going, with clean hands, sprinkle some water on the rice and gently massage and break up the rice, careful not to mush them too much, but just enough to separate the grains.
- Add in your garlic and give it a good mix. Keep on tossing them so as not to burn them!
- Give a couple of seconds until you see very slight browning on the edges of the garlic.
- Add the rice, and start mixing, with your spatula scooping from the bottom and tossing over.
- Add some salt and pepper and toss until the rice starts to slightly brown and aromatic.
- Optional – add a tablespoon of soy sauce to give your rice a bit more color.
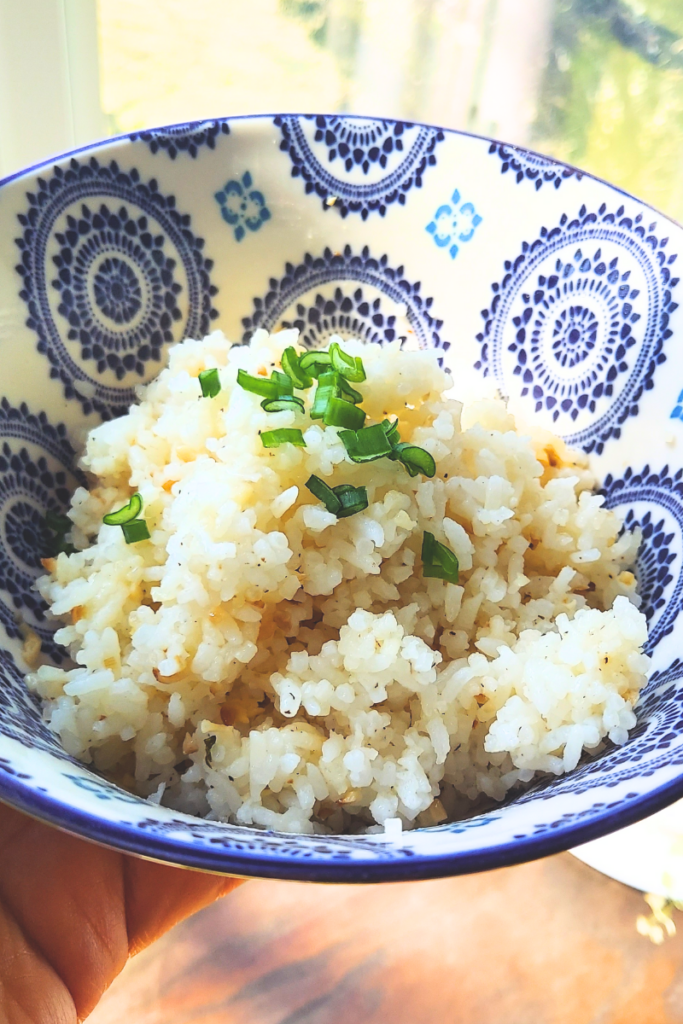
- Serve with your the rest of Filipino breakfast and enjoy!
Additional notes:
While best served hot after cooking, you can also make a bigger batch and have it sit in the fridge for the week, or freeze it for later use.
To freeze, just put it in a flat container or freeze it flat in a ziplock bag. It will thaw out faster and you can have instant rice for next time.
Hope this helps, and I hope you enjoy it!
Wishing you a blessed day,
Nessa 🙂
One thought on “How to Cook Sinangag – Filipino Garlic Fried Rice”